Most people want to know about the features and attributes of Snapchat Premium and what makes it superior to the other applications. Since its development, Snapchat has continued to impress people with its several top-quality characteristics and easy-to-use interface.
Apart from that, the snap streaks feature has provided an amazing way for users to connect with their friends daily and build a strong bond with them.
However, just like other social platforms, Snapchat also comes with a premium version, where you can get access to some new features. Not only that, in the Snapchat premium, you are also able to change the app logo, or its entire interface, as you wish.
To know more about Snapchat premium features and how you can use them, we have created this ultimate guide. Here, we will talk about how to get Snapchat Premium and use it.
Ready to learn about it? Read on!
What is Snapchat Premium?
Snapchat Premium is an upgraded account with more fascinating traits and a compelling interface than the typical application. The developers have launched this aspect to engage more clients and give a more mesmerizing experience to the users. With the premium version, you can customize the whole application and explore a new world of content and captivating videos. You can enjoy the basic features more compellingly, which could be impossible otherwise. Thus, consider owning this upgraded version for advanced-level entertainment.
How to Set Up Snapchat Premium Account?
Setting up a Snapchat Premium account is quite interesting and simple, yet tricky. Therefore, you need to be very careful when putting the credentials. Furthermore, you should also follow essential steps while adding billing details, as a slight mistake can be the reason for big trouble. We have developed a step-by-step guide to set up the premium account.
1 – Install the Application
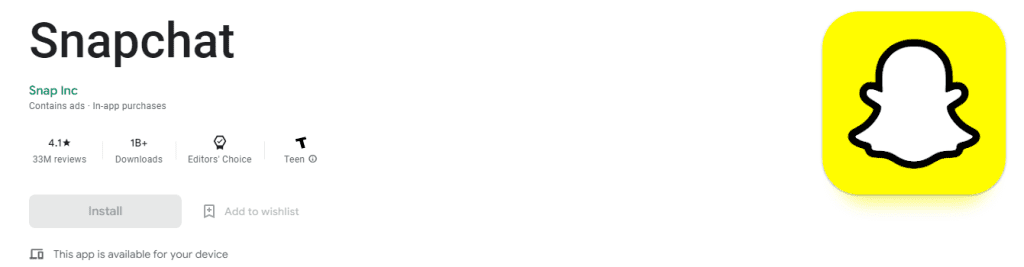
Snapchat is available for all mobile users as the developers have launched it for Android and iOS users. However, you have to download it from the respective stores. Android users can access it from the Google Play Store, while iPhone users can get this app from the Appstore. If you already have one, consider updating it from the respective stores to the latest version. One notable point is that Snapchat is now also available in the web version. Thus, you can use your laptop or desktop to set up a Snapchat premium account. It could be a lot more easier on the big screen to enter the billing details and payment system.
2 – Create Your Account
After installing the application on your smartphone or accessing it through the web browser, you can create the account easily. Enter the credentials below to create your ID, which can later be upgraded to a Snapchat Premium account.
- Email: Enter your personal Email address to get the verification link or the latest updates regarding the changes and new features of the app.
- Password: Generate a strong password by adding certain different elements, such as numerals, short and large case alphabets, and symbols. Consequently, you’ll be able to keep your account safe from the hacker’s attack and enhance its security.
- Phone Number: A phone number is compulsory for creating a Snapchat account. That’s why you must enter a functional number to help synchronize your contacts.
- Username: Try to find a unique and sensible username that should be captivating and easy to memorize. Moreover, it benefits you greatly in the case if you are creating one for your business.
After entering all these details, you will get a verification link at your entered Email address. Click it to signal the developers that it’s you to approve the request for account creation.
3 – Upgrade to the Snapchat Premium
If you already have an account, you should start from this step. Otherwise, follow the abovementioned procedures to pave your way to a Snapchat Premium account. The under-mentioned guide directs you to the right process for upgrading your ID.
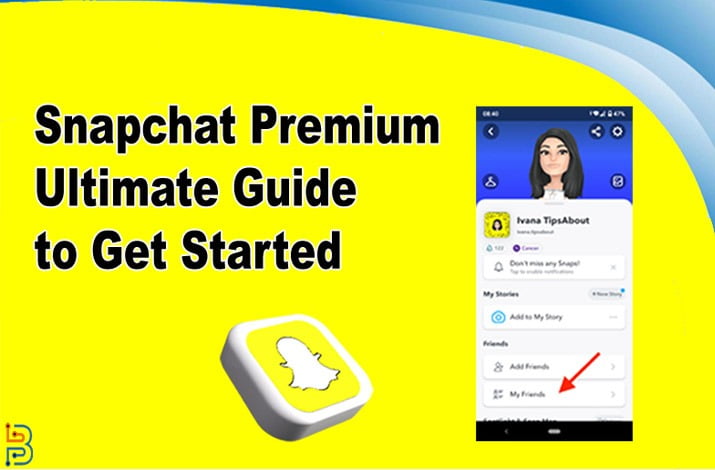
A. Open the Profile
After creating the account, open the application and reach the camera screen. Head on to the profile picture in the top left corner. Click on it to expand the other options.
B. Go to Snapchat+
Another worth-remembering point is that Snapchat Premium is also known as the Snapchat+ account. After opening the profile, scroll down. At a certain point, you will see a banner showing Snapchat+. Click on it to open the next window or interface.
Not every smartphone has the same interface. Consequently, some users won’t find this banner at the mentioned place. If you also suffer from this problem, click the settings button in the top right corner of the profile section. Here, you will find Snapchat Premium or Snapchat+ button.
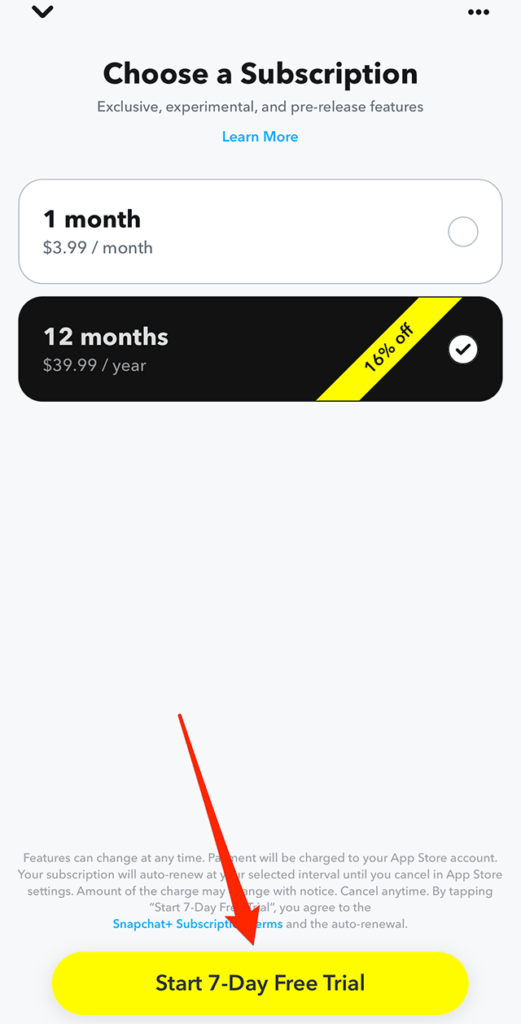
C. Choose to Subscribe
After you click the Snapchat+ button, it will take you to a new interface with two options. The first one is Subscribe, while the other one is Snapchat+ Gift. The latter lets you send or receive a Snapchat Premium account to your friends or family. However, you have to choose to Subscribe button in this case.
D. Browse the Features
After clicking the Subscribe button, a new section will appear, showing the features of the Snapchat Premium account. You can browse them to get insights into how to modify your application or what perks you can enjoy with the upgraded version.
E. Add the Billing Address
The features pages will also showcase a Next button. Click on it to reach the payment options. Set up your credit card details and pay the required amount to create a Snapchat Premium account.
4 – Customize the Profile
Now you are done with creating a Snapchat Premium account; it’s time to customize your profile with the new elements. You can change the theme of your chats, set up a custom icon, or wallpaper, set up a story rewatch and pin your all-time best friend forever.
Final Verdicts
All these are the details about creating and customizing the Snapchat Premium account. In conclusion, Snapchat has provided the world with a new way of entertainment and amusement. Moreover, the developers have launched a Snapchat+ option to help people enjoy more mesmerizing attributes and set up customized profiles, themes, icons, and wallpaper. Moreover, you can enjoy story rewatching, priority replies, and enhanced outreach. That’s why this feature is getting increasingly popular on an everyday basis. That’s all about this guide. Stay tuned for more information!